

POD Installation
Pigator Onewire on DIN-rail Installation
Section titled “Pigator Onewire on DIN-rail Installation”Mounting
Section titled “Mounting”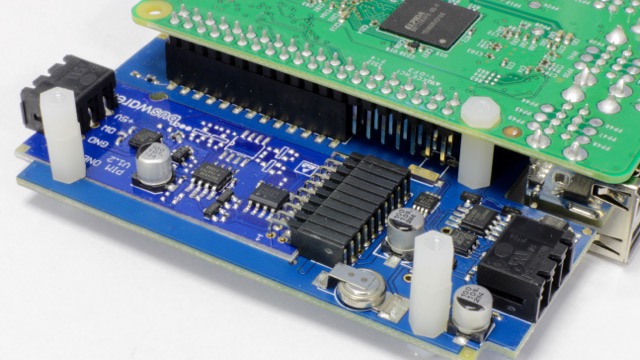
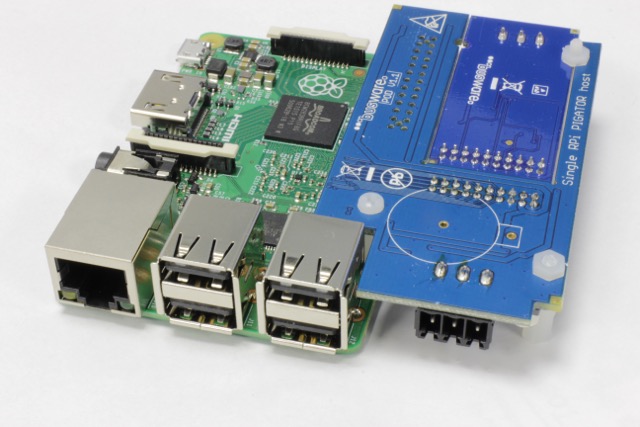
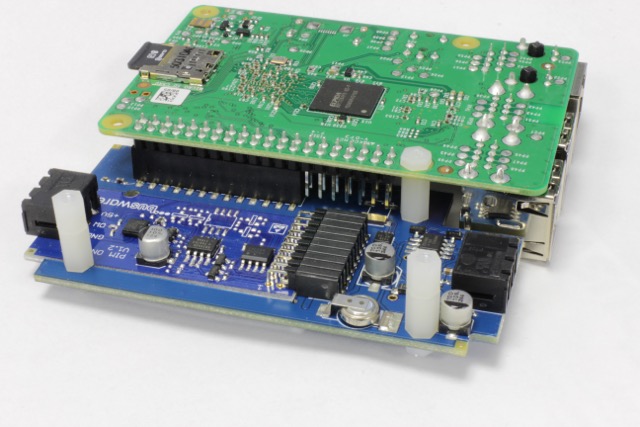
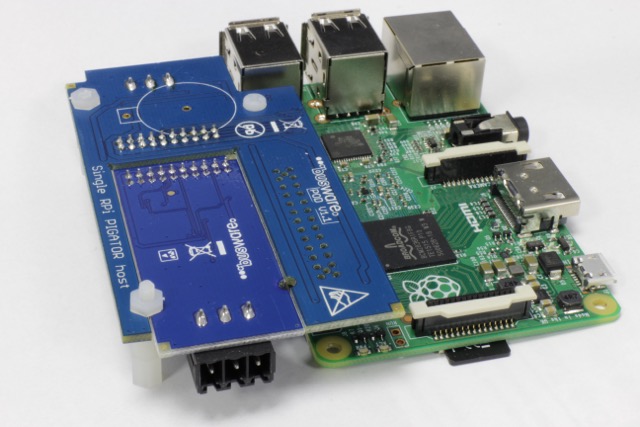
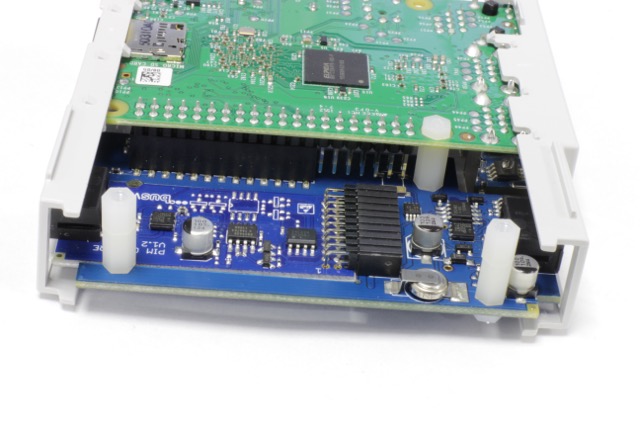
Onewire
Section titled “Onewire”Make sure i2c is active! On RPi2 you need to add to /boot/config.txt:
dtparam=i2c_arm=on
load (you may add module to /etc/modules) or:
sudo modprobe i2c_dev
To access the 1Wire bus do:
sudo apt-get install owfs
edit /etc/owfs.conf to:
#server: FAKE = DS18S20,DS2405 server: i2c = ALL:ALL
restart service and have a look:
sudo /etc/init.d/owserver restart sudo /etc/init.d/owhttpd restart
browse to http://ip_or_raspberry:2121
Section titled “browse to http://ip_or_raspberry:2121”sudo owfs —i2c=ALL:ALL —allow_other /mnt/ ls /mnt
The extension ist equipped with an backed up Real Time Clock. It stores its energy in an on-board supercapacitor. This will last for about 3 days. access the RTC by:
sudo echo ds1307 0x68 > /sys/class/i2c-adapter/i2c-1/new_device sleep 2 sudo hwclock
setting RTC by:
sudo hwclock -w
set system time from RTC during startup (i.e. in /etc/rc.local):
sudo hwclock -s
Than let Raspberry know that we have a real-Time-clock:
sudo apt-get remove fake-hwclock sudo rm /etc/cron.hourly/fake-hwclock sudo update-rc.d -f fake-hwclock remove sudo rm /etc/init.d/fake-hwclock sudo update-rc.d hwclock.sh enable
Modul connector
Section titled “Modul connector”RPis serial port /dev/ttyAMA0 is directly connected to modul. Other assignments as below:
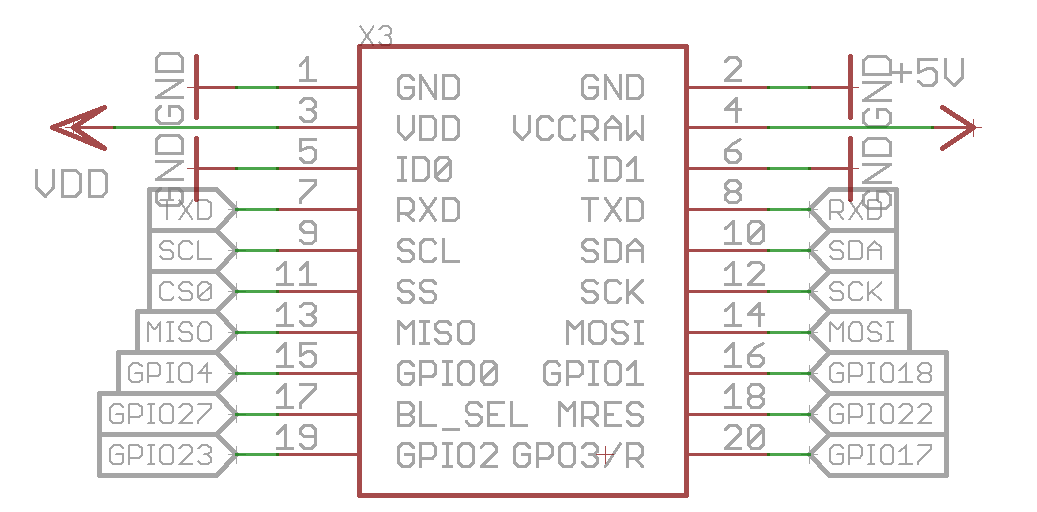
RPI3 + JESSIE:
add to: /boot/config.txt dtoverlay=pi3-miniuart-bt
change: /boot/cmdline.txt dwc_otg.lpm_enable=0 console=tty1 root=/dev/mmcblk0p2 rootfstype=ext4 elevator=deadline fsck.repair=yes rootwait
commands to issue: sudo systemctl stop serial-getty@ttyAMA0.service sudo systemctl disable serial-getty@ttyAMA0.service sudo reboot
Many modules use the Low-Level RESET pin. To enable those you must pull RESET HIGH by doing:
sudo echo 22 > /sys/class/gpio/export sudo echo out > /sys/class/gpio/gpio22/direction sudo echo 1 > /sys/class/gpio/gpio22/value
for High-Level RESET modules i.e. EnOcean TCM310 do:
sudo echo 22 > /sys/class/gpio/export sudo echo out > /sys/class/gpio/gpio22/direction sudo echo 0 > /sys/class/gpio/gpio22/value
Bootload PIM
Section titled “Bootload PIM”
EEPROM
Section titled “EEPROM”The configuration EEPROMs are available at:
- PIGATOR board EEPROM -> sudo hexdump /sys/class/i2c-adapter/i2c-1/1-0057/eeprom
- MODUL SLOT EEPROM -> sudo hexdump /sys/class/i2c-adapter/i2c-1/1-0050/eeprom The EEPROMs are write protected, programmed at manufacture - but currently mostly empty… You might need to load proper kernel driver before accessing the EEPROMs:
echo “24c02 0x50” > /sys/class/i2c-adapter/i2c-1/new_device echo “24c02 0x57” > /sys/class/i2c-adapter/i2c-1/new_device